 |
Open Online Education
|
Open Online EducationDashboard
The dashboard is your interface to create and administer the course. You use the dashboard to add content and configure settings, as well as review the course analytics. Only people you designate as course administrators can access the dashboard.
To get to the dashboard, sign into a Google account with admin permissions and visit your site’s home page:
https://<your-project-ID>.appspot.com
Find the Dashboard link near the top right corner of the page.
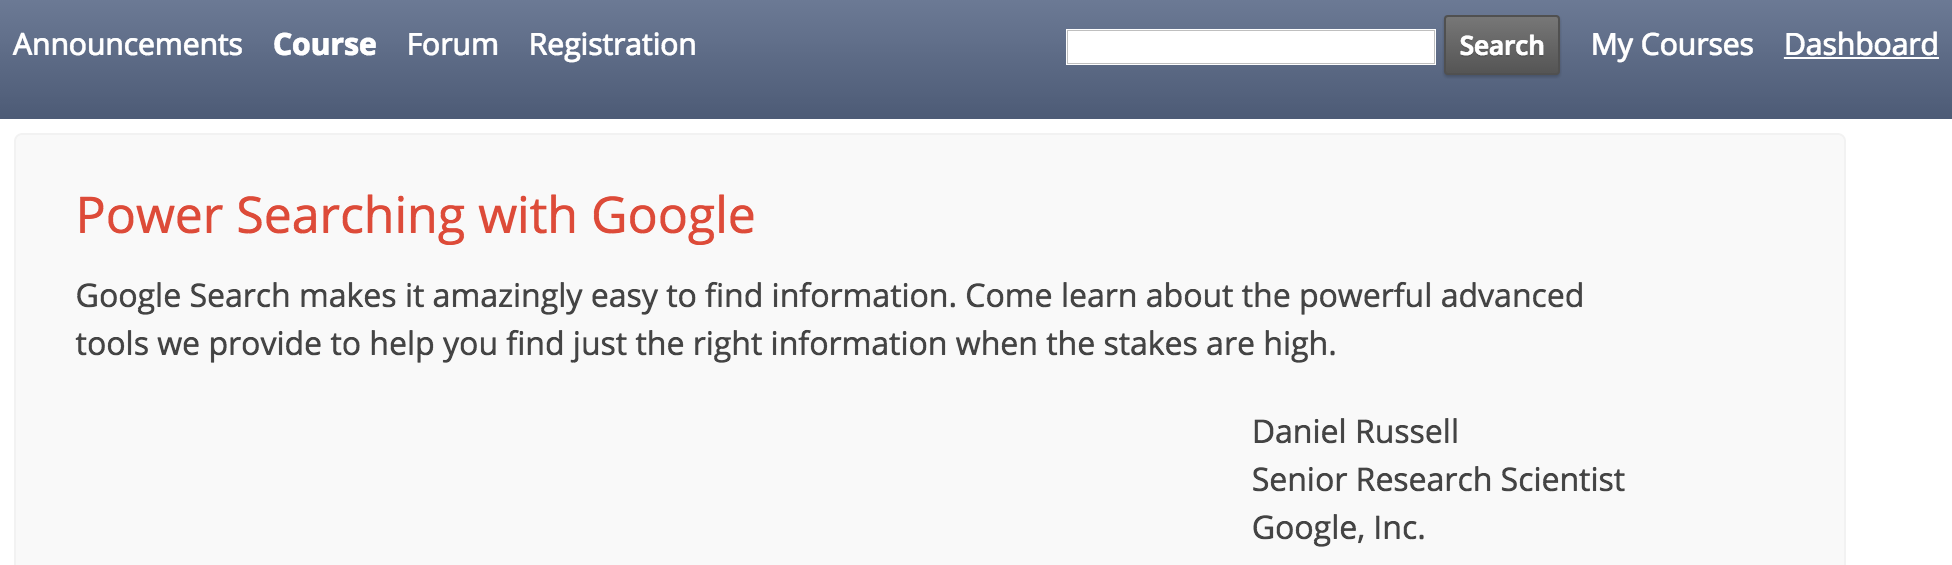
Click the Dashboard link to get to the dashboard.
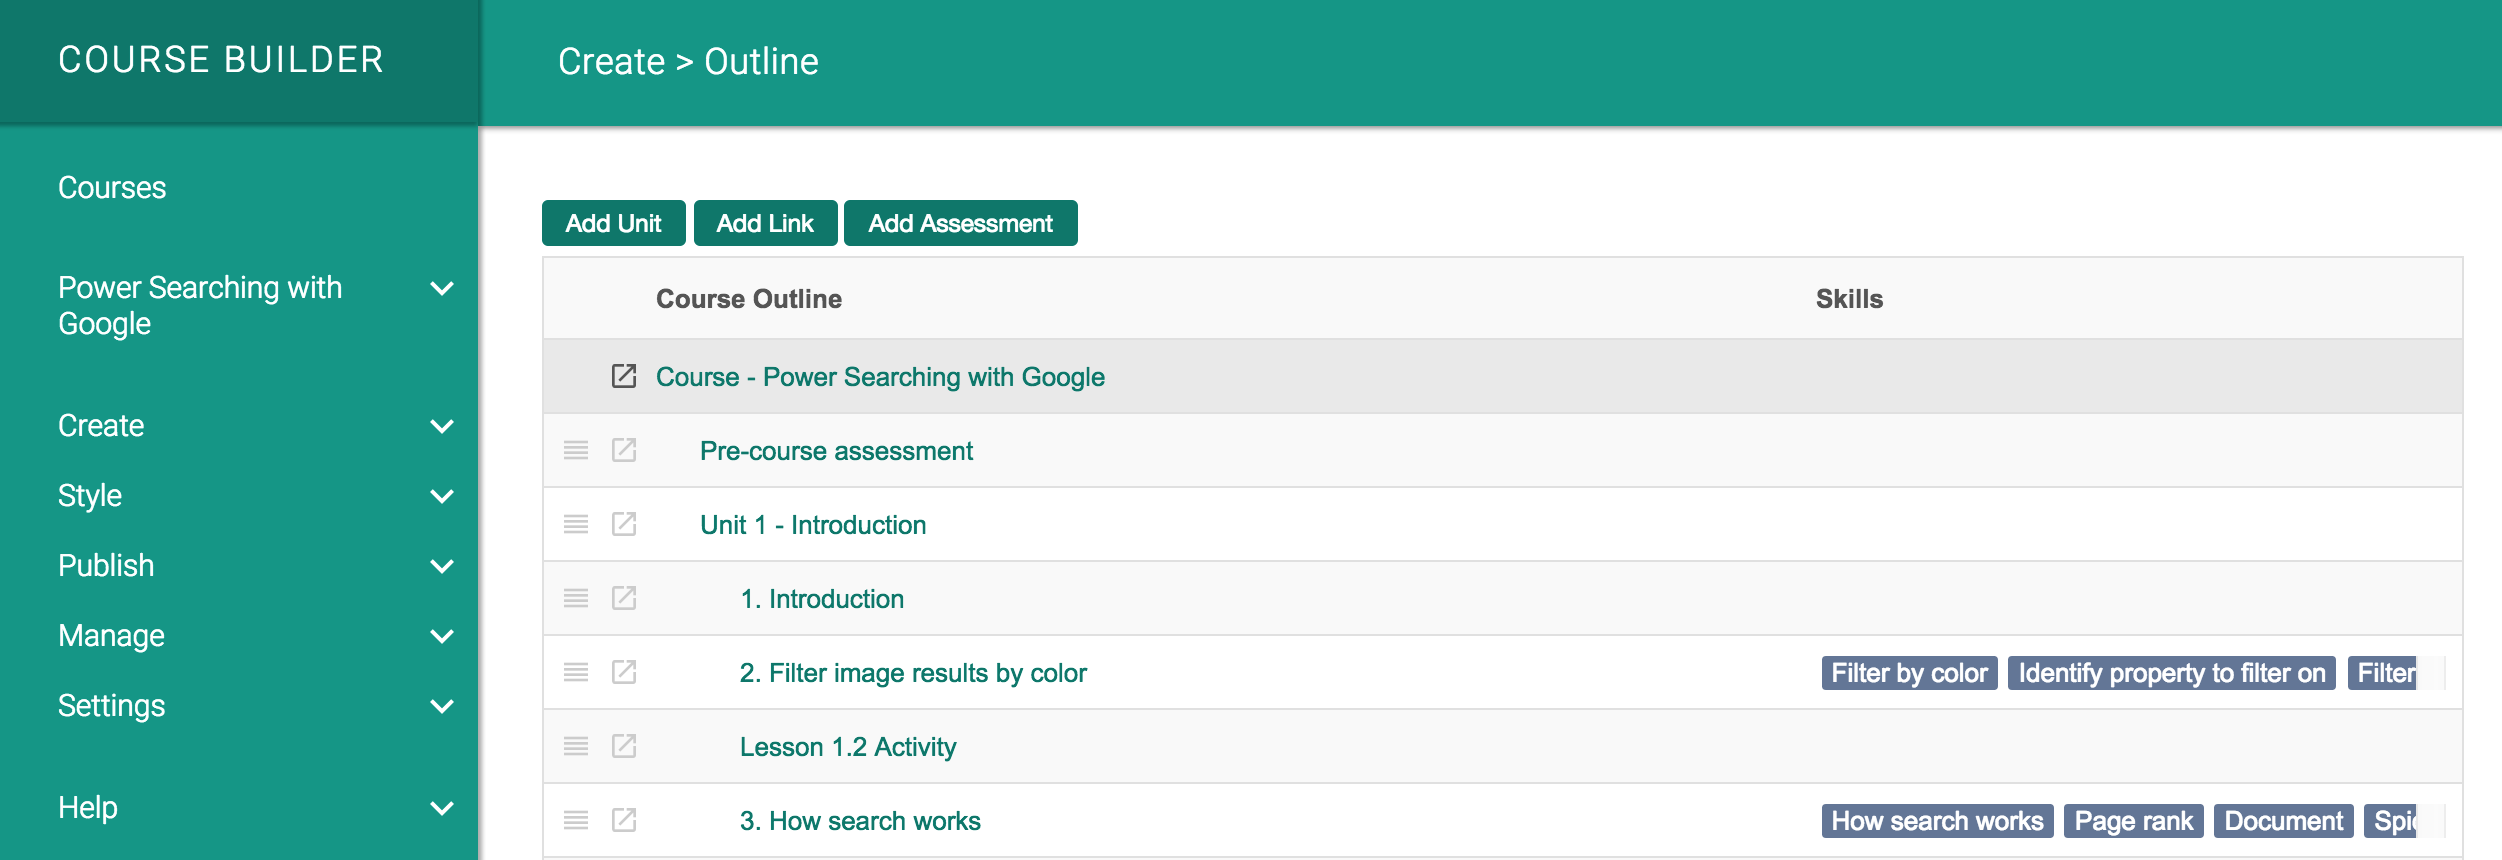
The menu on the lefthand side is the dashboard menu. It contains the following top-level menu items:
- Courses
- the course selector, which displays the title of the current course
- Create
- Style
- Publish
- Manage
- Settings
- Help
Courses
Click Courses to see a list of courses on the site for which you have admin access.
On the Courses page, you can
-
Click the Title of a course to make it the current course.
-
Click the URL Component of a course (or the
 icon next to it) to
view the course on the student-facing site.
icon next to it) to
view the course on the student-facing site.
-
See the availability and number of students registered for a course.
-
Hover over a column heading and click the arrow that appears to sort the list of courses in ascending or descending order.
-
Change certain course details for one or more courses. First, select a course by checking the box to the left of the course title. After you have selected the course(s) you want to change, click the Multi-Course Actions button and then click an option to set
- availability
- start/end dates
- category
- whether to include the course(s) in the course explorer
The changes will apply to all selected courses
In addition, the Courses page is where you add new courses to your site. (Learn more about adding courses.)
Course Selector
The course selector appears in the dashboard menu just below Courses after you have created or selected a course from the Courses page. Most of the dashboard works at the course level rather than the site level, and the course selector lets you change what course you are currently working with.
The course selector displays the current course title. Clicking that title reveals a list of the courses that you can view in the dashboard.
Create
The outline of the current course is available at Create > Outline. The outline is where you add elements, like units, lessons, and assessments to your course, and it corresponds to the syllabus on the student-facing site. Learn more about the course outline.
From the Create menu, you can add the following items to your course:
Style
From the Style menu, you can customize your course’s style by editing existing or uploading new files of the following types:
-
CSS
(
.css) -
JavaScript
(
.js) -
Template
(
.html)
Publish
The items in the Publish menu help you finalize your course and control its visibility:
- Availability: Control access to your course and its content.
- Search: Make your course searchable.
- Translations: Offer your course in multiple languages and manage the translation process.
Manage
The items in the Manage menu cover these areas:
- Announcements: Draft and publish announcements about the course.
- Access a number of preconfigured analytics about the course.
- Data pump: Pump data into Google BigQuery so you can create custom data queries.
Settings
The items in the Settings menu are divided into three groups:
- Course settings and course-wide unit and lesson settings
- Other course-wide element and feature settings
- Other settings
Help
The Help menu items include links to several useful places:
- Welcome: A welcome page that includes the data collection agreement.
- Documentation A link to the Course Builder documentation homepage.
- Support: The Course Builder Forum for user support.
- Videos: A collection of YouTube video tutorials on Course Builder.
- About: A list of important values (such as the course’s namespace) for each course.