 |
Open Online Education
|
Open Online EducationCSS, JavaScript, and Template Files
Your course’s style is defined by a collection of
- CSS files (
.css), - JavaScript files (
.js), and - template files (
.html).
You can edit these files and upload new files to customize your course’s style.
For each file type, there is a separate page on the dashboard:
- Style > CSS
- Style > JavaScript
- Style > Templates
The instructions for editing existing files and adding new files are the same for all three file types.
Back Up Default Files
The default style files are found in the coursebuilder/assets directory on
your filesystem. Consider backing up this directory if you want to be able to restore
the default files later on.
Edit Existing Files
Click Style in the dashboard menu and then select the type of file that you want to edit. The screen shown below is the result of choosing Style > CSS.
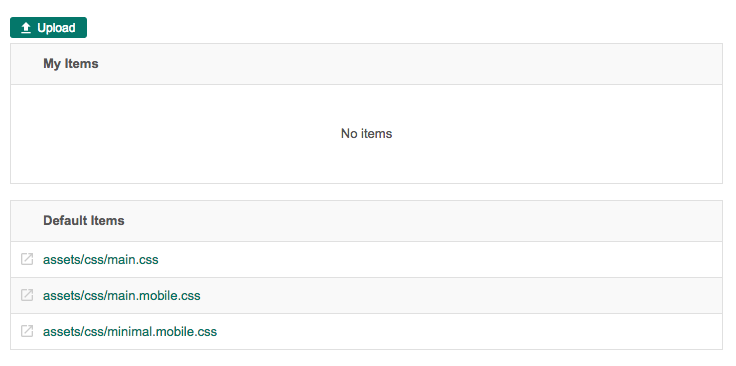
Find the Default Items table.
Click the name of the file you want to view and/or edit. The screen shown below is
editing assets/css/minimal.mobile.css.
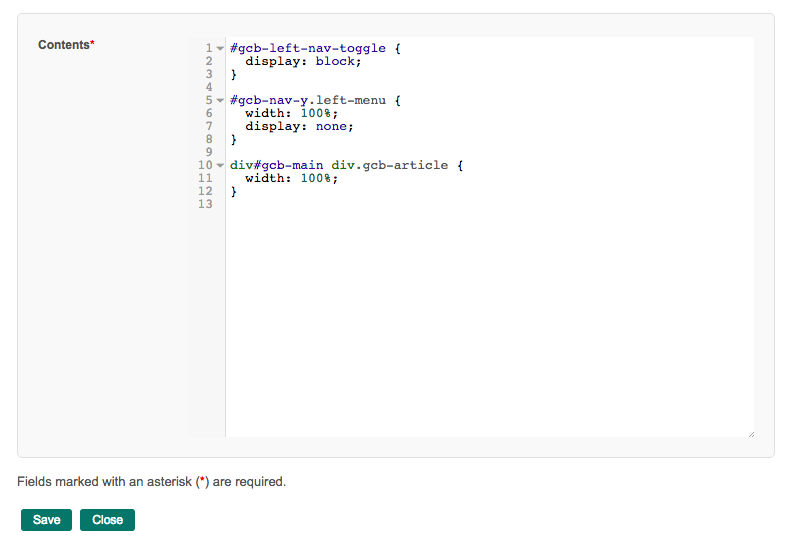
Make changes to the file directly in the editor and click Save.
Your changes are immediately saved in the cloud, and you can see the results in your course right away.
The modified file will now appear in the My Items table.
If you want to revert a modified file back to the original version, select it in My Items and click the Restore original button. The default file will be restored.
Making changes locally
If you prefer, you can edit the same files locally in
coursebuilder/assets/ instead of using the editor in the Course Builder
dashboard.
However, any changes you make on your local filesystem are not automatically saved to your app, and you must redeploy your app to introduce those changes.
Note: Changes made locally and redeployed will affect all courses on your site. If a file has already been overriden (due to edit or upload) for a particular course, changing the base file will not affect that course.
Upload New Files
You can also upload custom files for your course.
Click Style in the dashboard menu and then select the type of file that you want to upload.
Click the Upload button.
Click Choose File to select a file on your system. Note that the file that you select must not have the same name as any file in the Default Items table for this file type.
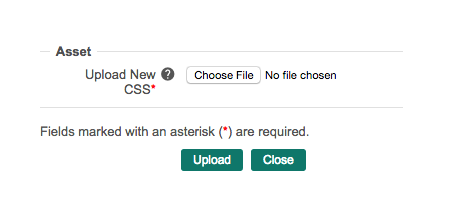
Click Upload.
Your changes are immediately saved in the cloud, and you can see the results on your course site right away.