 |
Open Online Education
|
Open Online EducationContent Editor
The content editor is Course Builder’s tool for composing content. It is available to create lessons, course abstracts, questions, announcements, and much more.
In any field that looks like this:
you work with the content editor to create engaging content for your course.
The content editor has three modes:
| Mode | Icon | Uses |
|---|---|---|
| Component |
|
add components and text using the content editor menu |
| Raw HTML |
|
view and edit content as HTML |
| Preview |
|
view content as it will appear to students |
Component Mode and Menu
This page focuses on the component mode and the different components that are available.
To see the components menu, click within a content editor field that is in component mode. A menu will slide down from the top of the text box.
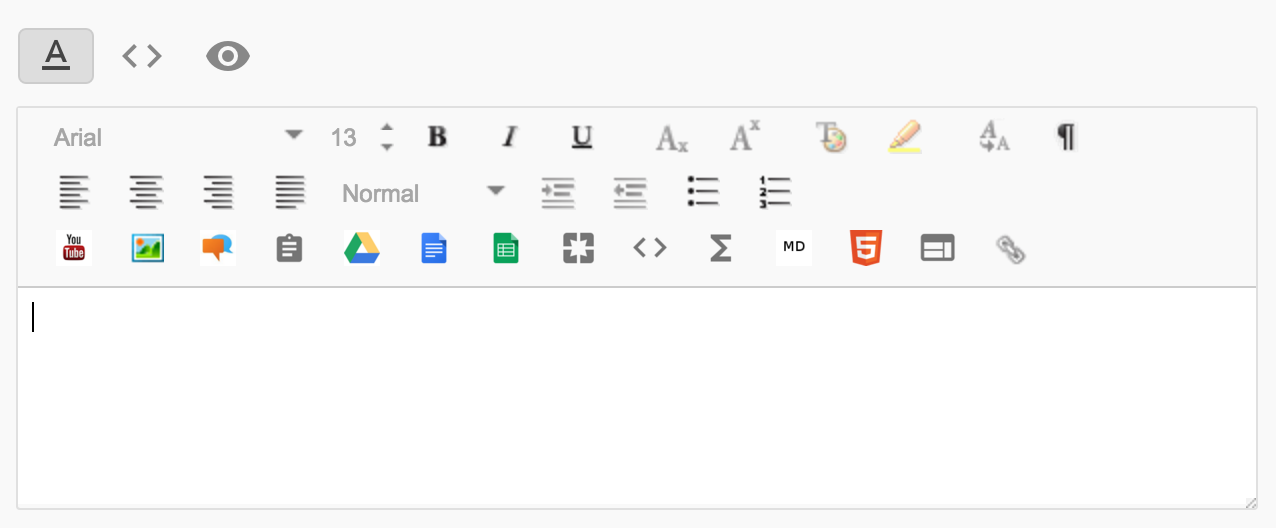
The menu offers options for
- formatting text
- adding components
Text Formatting
The content editor’s menu includes options for formatting text. Options that are unavailable are greyed-out, and clicking an unavailable option causes the menu to slide back into nothingness.
Components
Components allow you to create content from a variety of sources. To add a component, position the cursor in the field where you want the component to appear and then click the appropriate icon in the content editor menu. You can mouse over any icon to see what component it represents.
The following table lists the components and their menu icons in rich text mode. There is more on each individual component below the table.
* These components are only available for lesson and assessment content.
Warning: Do not copy and paste components
The content editor appears in many places in Course Builder, and you will be working with components a lot. At some point, it may occur to you to copy and paste a component.
This will not work. Every component has a unique ID, and copying and pasting a component creates duplicate IDs and breaks things.
If you are looking to create similar components in multiple places, you can always copy the contents of a component (the text, code, URL, etc.), create a new component, and paste the contents into the new component.
Individual Components
This section goes through each component, what it does, and how to use it.
Question
Question components are only available lesson and assessment content.
To add a question component, click ![]() . You can then choose to create a new question or
select and existing one.
. You can then choose to create a new question or
select and existing one.
Learn more about questions in Course Builder.
Question Group
Question group components are only available in lesson and assessment content.
To add a question group component, click ![]() .
.
In the dialog that appears, select a question group from a drop-down menu of existing question groups.
Learn more about question groups in general.
YouTube Video
Click ![]() and enter the ID of the YouTube video you wish to
add.
and enter the ID of the YouTube video you wish to
add.
For example, the video at
https://www.youtube.com/watch?v=dKAuWqf3jB0
has the ID dKAuWqf3jB0.
Using video components in your lessons and other content is a good way to engage students. Learn more about working with video.
Image
Click ![]() .
.
In the dialog that appears, enter the URL for the image.
The image URL can be an external URL or a file already in your course. Learn about adding image files to your course’s assets.
In addition to the image URL, you can set other image properties in the same dialog or go with the defaults.
The Link URL is the URL that will open the image is clicked. If the
link URL is external to Course Builder, make sure that it begins with
http:// or https://.
Google Group
You can embed a Google Group to create discussion-based content. You can post a question or an assignment, and students can post responses to you and to each other within the group. Learn more about setting up a Google Group for your course.
To embed a group, click ![]() and
enter the
and
enter the
- group name
- category name (optional)
The group name is the first half of the Google Group email address. For example, if the
group email address is mycoursebuildercourse@googlegroups.com, then enter
mycoursebuildercourse into the Group Name field.
The Category Name is optional. You can enter a category to include a subset of the group so that students are taken directly to the relevant topic(s). Learn more about categories in Google Groups.
Questionnaire
Add a questionnaire to your content to get feedback and other non-graded responses from students.
Creating a questionnaire requires some knowledge of HTML; accessing the data from student responses to the questionnaire requires even more knowledge of exporting data and custom analytics.
Create an HTML form
You must create the HTML form for the questionnaire separately. There are two options to add this HTML:
- in the raw HTML mode of the content editor: click the code icon and type or paste the HTML in the box provided.
- use an HTML asset component: Create the HTML locally and upload it to your course. After uploading the HTML file, add it as an HTML asset component.
Be sure to include a form ID to allow the form to post data.
Add component
Add a questionnaire component that will submit your form.
Click ![]() and fill out the fields in the dialog:
and fill out the fields in the dialog:
- Form ID: the ID of the form you created.
- Submit Label: the text displayed on the submit button of the form
- Submission Text (optional): the text displayed to the student after the form has been submitted
There is also a Disable Fields setting. Learn about disabling fields.
Getting to questionnaire data
The data from a questionnaire is not available in Course Builder’s built-in analytics,
but it is available as the StudentFormEntity.
Disable fields
To display results of the questionnaire on another page, you can add a questionnaire component along with your form and click Disable Fields.
Google Drive
The Google Drive component imports a Google Doc into Course Builder. You can edit an imported document directly in the content editor.
Learn more about bringing Google Drive files into your course.
Google Doc
To include a Google doc, click ![]() .
.
In the dialog that appears, enter the doc’s Publish from the web link in the Document Link field.
The Height (in pixels) is optional.
Learn more about adding Google Drive files to your course.
Google Spreadsheet
To include a Google spreadsheet, click ![]() .
.
In the dialog that appears, enter the Publish from the web link in the Link field.
The Height (in pixels) defaults to 300.
Learn more about adding Google Drive files to your course.
HMTL Asset
An HTML Asset is an HTML file in the course assets directory. You can
select an existing HTML file in assets/ to include it in your content.To
add an HTML asset to your content, click ![]() .
.
In the File Path field, select from the HTML files in
assets/html/.
Learn how to add HTML files to your course assets.
Code
To display code blocks, click ![]() .
.
In the dialog that appears, select the language and then type or paste the code into the box provided.
Mathematical Forumla
The mathematical formula component offers a choice of two markup languages:
To display a mathematical formula, click ![]() and select which markup your formula will
use. Then enter the formula markup in the box provided.
and select which markup your formula will
use. Then enter the formula markup in the box provided.
Markdown
You can enter text using Markdown syntax, and the text will be formatted and displayed in the content.
Click ![]() and type
or paste Markdown text into the box provided.
and type
or paste Markdown text into the box provided.
HTML5 Video / Video from Google Drive
To include HTML5 video (including videos from Google Drive), click ![]() and enter the URL
where the video can be found.
and enter the URL
where the video can be found.
If the video is from Google Drive, add &export=download to the end of
the video’s URL.
You can set the width and height of the video or keep the default values.
IFrame
Use the IFrame (inline frame) component to embed content from an external source.
Click ![]() and enter
the URL of the content that you would like embedded and give it a title.
and enter
the URL of the content that you would like embedded and give it a title.
You can set the height and width of the IFrame or keep the default values.
One use of the IFrame component is to embed a Google Slides file. In the component dialog, enter the file’s Publish from the web link in Embed URL .
Learn more about embedding Google Drive files in your course.
HTML Link
Use the HTML link component to add a link to selected text.
Select the text that you want to be linked.
Click ![]() . and enter the URL of the
link. Be sure to include
. and enter the URL of the
link. Be sure to include http:// and https://.
Student Text File Upload
A student text file upload component allows each student to submit a response by selecting and uploading a text file.
Note that the file must be a plain text file (UTF8). If the file is not plain text, an error message appears:
An error occurred. Go back and try again. If the problem persists, contact your administrator.
The fix is to upload a new file containing only plain text. Files ending in
.txt will always work.
Student text file upload components are only available in lesson and assessment content, and retrieving the uploaded files requires some non-trivial data handling.
As an alternative, consider adding a Google Group component and directing students to post responses instead.
Add the component
Click ![]() .
.
The Display Length value is the width (in characters) of the field that displays the file name for selection. The default of 100 is safe and generous, but you can reduce it if you need to save space. A shorter field will not reject files with longer names; those names will simply be truncated in the display.
Retrieve the files
The uploaded files can be found in the datastore. Each student’s file will be in
Submission.contents. You can download all of the Submission
objects using ETL or run custom queries using Big Query.